Tag Archives: Mac OS X

Rolling a Ruby gem back to a previous version

I ran into a problem with the Ruby gem for a tool I use recently when I installed the latest version and then found it was broken.  I wanted to roll back to the previous version, which turns out to be extremely simple.  Here is the command I used and the responses I received:

> sudo gem uninstall cocoapods
Password:

Select gem to uninstall:
1. cocoapods-0.23.0
2. cocoapods-0.24.0
3. cocoapods-0.25.0
4. cocoapods-0.26.2
5. cocoapods-0.27.1
6. cocoapods-0.28.0
7. cocoapods-0.29.0
8. cocoapods-0.30.0
9. All versions
>

I selected 8 in the list, and when I checked the version of the gem after running this command, it had indeed been rolled back.  Simple.  Sweet.  Just what I needed.

Mac App: Ejector

Does this ever happen to you?  You download a DMG file to install an application, mount it, then install the app.  At that point you go on your way and forget about the mounted image.  Or how about you have connected an external drive or a flash drive and you can’t get to your desktop easily to eject them.

The Ejector app is a menu bar app that gives you a single place to see all the drives or disk images that have been mounted so you can eject them.  This is one of my must-have apps on my Mac.

Sorting Objective C Import Directives

I know I’m a bit obsessive compulsive, but I’m rather fastidious about how I organize #import statements in alphabetical order at the top of my Objective C files.  If I’m creating and maintaining the file myself, it’s not so bad, but when I work on an existing file it’s a lot more work.  Wouldn’t it be cool if I could just run the sort command on the imports?

Automator to the rescue!  By creating a service in Automator, you can create a service that is accessible from Xcode – or any other app for that matter.

Check out this article by Christian Engvall that describes the steps required to make it happen.  Pretty cool!

Hidden Menu Bar Apps

If you’ve used OS X for any length of time, at some point you’ll probably find yourself in the situation where you can’t get to the icon for an app on the menu bar, particularly if you are using a machine with a small screen (MacBook Air or Pro 13) or you use a projector in a meeting.  For me, the menu bar app that I need to get to in a meeting is Caffeine.  One way to get around this is to switch to an app that has a smaller app menu, such as Finder.  Sometimes even that isn’t enough, so there is another app call NoMenuBar that runs in the background that has no

There is another solution:  AccessMenuBarApps.

AccessMenuBarApps is a menu bar app (ironically) that temporarily hides the app menu so that the maximum amount of space can be devoted to menu bar apps.  The app provides the following ways to switch menu bar modes:

  1. Keyboard shortcut – The default keyboard shortcut is shift-space, but you can set this to anything you want.  I found the default keyboard shortcut to be really annoying, as I find myself pressing shift and space at the same time a lot.  I chose to disable this altogether.
  2. Mouse gesture – This is pretty cool.  With these gestures, a transparent image will briefly cover the menu bar and then the menu bar will switch states.  There are two gestures supported:
    1. Bump the mouse cursor against the top of the screen twice.
    2. Bump the mouse cursor against the top of the screen and then move it right or left.
  3. Menu bar icon – I guess in previous versions the menu bar icon used to be placed with the third-party menu bar apps.  Now the menu bar icon is placed on the far right so that it is always visible.  You can choose to hide the menu bar icon altogether if you want.  Clicking this icon will switch the state of the menu bar.
  4. Dock icon – By default the app shows an icon on the dock.  It allows you to change the icon into a clock or a pair of eyes that follow your cursor as well.  I already have too many icons on my dock, so I chose to hide it.

What is your experience with this app?  Are there other apps you have tried?

Mac Mail and ReplyWithHeaders

I’ve been using Microsoft Outlook 2011 on Mac OS X for a couple years and I finally decided I needed to give Mac Mail and iCal a try.  In Lion (Mac OS X 10.7), Mac Mail has added some great features, but one thing it is missing is including the headers of the original message when replying.  Here is an example of what Mac Mail shows:

On Jun 14, 2012, at 1:03 PM, Geoff Walker wrote:

Outlook shows this:

From: John Smith [mailto:jsmith@example.com] Sent: Thursday, June 14, 2012 12:41 AM
To: MyTeam
Subject: Yesterday’s meeting

I found an add-on that will modify Mac Mail to do the same thing.  Saptarshi Guha wrote ReplyWithHeaders, which is a bundle that can be added to Mac Mail to modify its behavior, and released the source on GitHub.  Here are the steps to use it if you have access to Xcode (the development tool for Mac OS X and iOS):

  1. Clone the ReplyWithHeaders repository by using the following command:
    git clone https://github.com/saptarshiguha/ReplyWithHeaders.git ReplyWithHeaders
  2. Quit out of the Mail app.
  3. Build the ReplyWithHeaders project in Xcode.  This will place the ReplyWithHeaders.mailbundle file in the right place, which is in ~/Library/Mail/Bundles directory.
  4. From a Terminal window, execute the following commands:
    defaults write com.apple.mail EnableBundles -bool true
    defaults write com.apple.mail BundleCompatibilityVersion 4
  5. Start the Console app to help you verify that the installation worked.  In the search bar in the upper right corner of the Console app type ‘Mail’.
  6. Restart the Mail app.
  7. In the Console app you should see the following lines:
    ReplyWithHeaders: Oh its a wonderful life
    Loaded ReplyWithHeaders

You can also find these instructions on the webpage for the bundle.  Pretty cool, huh?

Folding code in Xcode

A colleague of mine has the practice of collapsing all the methods in an Objective C file when he loads it to simplify finding the right method to view. When I asked him how he did it, he couldn’t remember since it was an automatic action. I finally got around to figuring out how to do it.

The feature is called Code Folding and can be done using the pointer, the menu bar, and the keyboard.

Code Folding using the Pointer

You may have noticed the different colored gray bars on the left of your code in Xcode and may have even accidentally hovered over one of them and been treated to a drastic change in the UI. Those gray bars allow you to fold – or collapse – your code. Using those bars, you can fold any size block, such as an if block, a for block, an @synchronized block, or even a whole method block.

Hovering over the gray bar shows you the block that will be folded. Clicking on the gray bar folds the block and shows a yellow ellipsis between the curly braces where the block used to be. It also changes the gray bar to an arrow. Clicking the arrow or double-clicking the ellipsis will unfold – or expand – the folded block.

Code Folding using the Menu Bar

The code folding functionality is exposed in the menus accessible from the menu bar as well.  In Xcode 4, check out Editor -> Code Folding.

Code Folding using the Keyboard

Apple has defined default keystrokes for code folding, but I found that some of them conflicted with keystrokes defined for other functions. In most cases the conflicts were caused by changes I had made – either in Xcode or in Mac OS X Lion – to accommodate writing code.

The following code folding functionality can be controlled using the keyboard:

  1. Fold all methods and functions – Option + Cmd + Shift + Left Arrow
  2. Unfold all methods and functions – Option + Cmd + Shift + Right Arrow
  3. Fold the current block – Option + Cmd + Left Arrow
  4. Unfold the current block – Option + Cmd + Right Arrow

I had to change the fold/unfold block key bindings because they conflicted with the key bindings I had selected for switching between Spaces in Lion. I changed them to Ctrl + Cmd + Shift + Left Arrow/Right Arrow respectively. This, of course, required that I change another key binding in Xcode – the key bindings for fold/unfold comment blocks.

Comment blocks are blocks of comments using /* and */ as delimiters. Since I almost never use this style of commenting, removing the key binding for folding/unfolding comment blocks in favor of code folding/unfolding was a good trade-off for me.

Mac Utility: Save

I’ve been enjoying my switch from Windows to Mac.  However just like Windows, Mac OS X has its quirks and irritations.  There are some very nice changes in 10.7 (Lion) to window management, but one thing missing is to restore window positions and sizes when switching between a single monitor and multiple monitors.
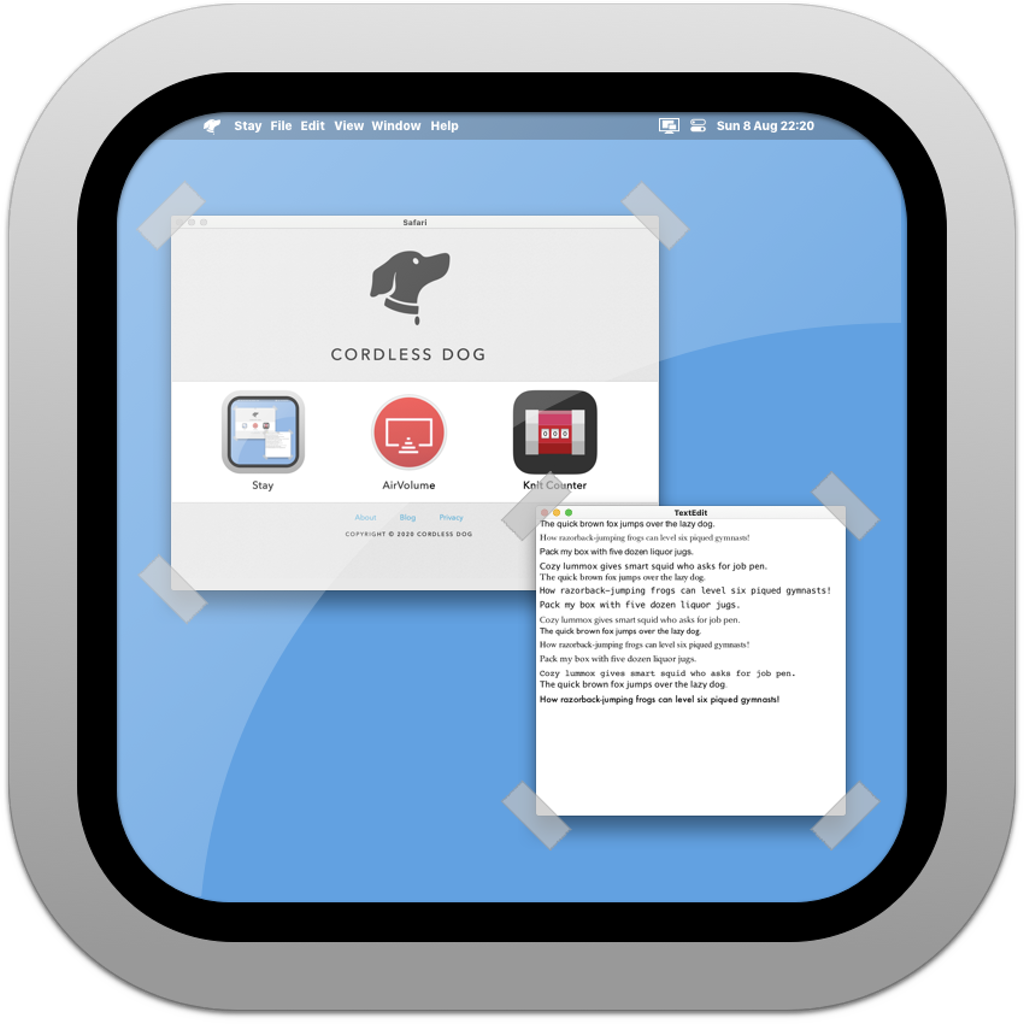
The Stay utility from Cordless Dog solves this problem.  Here is the summary of the app from the website:

What is Stay?

If you’re fastidious about keeping your windows tidy, Stay is for you. Stay ensures that your windows are always where you want them to be, even as you connect and disconnect displays.

The app is available both from the App Store as well as from their website and costs $15 ($14.99 from the App Store).  The difference between the two versions is that the version from the website supports Spaces.  The reason for this is that Spaces support requires private APIs, and Apple doesn’t allow apps submitted to the App Store to call private APIs.  Cordless Dog did a cool thing, though, for those that want to purchase from the App Store but also want Spaces support.  Simply make your purchase from the App Store and then install from the website.

One thing I’m not crazy about is that they app is delivered as a .zip file from the website rather than as a .pkg file.

Functionality Overview

Stay provides the following functionality:

  • Store windows for all applications.
  • Store windows for the current application.
  • Store the active window.
  • Restore all windows.
  • Edit stored windows.

When you choose to store windows for all applications, the app flips through all the windows, which takes more time than you’d think.  If you’re running the version that supports Spaces, it takes even longer, depending on how many windows and spaces you have.

Restoring windows isn’t quite as reliable as I was hoping.  The app uses window titles to identify windows, but some applications, such as Google Chrome, use a relatively transient string – the webpage title – for the window title.  This means as you switch tabs, Stay may not be able to identify the window to restore its position.

Overall, Stay is a big help in window management when switching between a single monitor and multiple monitors.

Git and git-flow command line completion

I switch between the command line and a GUI tool called SourceTree to manage my Git repositories.  When I first installed git-flow, I noticed that the readme talked about command line completion.  It took me a while to get around to installing it, but I have to say that it is really impressive.

Git and git-flow command line completion works like the rest of bash against the file system.  It reminds me a little of PowerShell on Windows (that should tell you how much I know about bash).

To install command line completion on a Mac, you need to find a copy of the git-completion.bash script.  Some of the posts I read on the net seem to indicate that it should be installed with Git in a contrib folder, but I couldn’t find it (showing how new I am on a Mac), so I decided to just clone Git from Git-Hub. Once I had that, I created a link to the script in my ~/bin directory:

cd ~/src/external
git clone https://github.com/git/git.git git
cd ~
mkdir bin
ln -s ~/src/external/git/contrib/completion/git-completion.bash ./git-completion.sh

I did a similar thing for git-flow-completion:

cd ~/src/external
git clone https://github.com/bobthecow/git-flow-completion.git git-flow-completion
cd ~/bin
ln -s ~/src/external/git-flow-completion/git-flow-completion.bash ./git-flow-completion.sh

The next thing to do is to modify your .bash_profile to call those scripts.

source ~/bin/git-completion.sh
source ~/bin/git-flow-completion.sh

Now when you execute git commands from the command line, you can use tab to complete commands, branches, remotes, and features. On top of that, it works for both local and remote elements. Very cool!

Resources

MySQL issue installing Gerrit on Snow Leopard Server

I spent more time than I wanted installing Gerrit on our Snow Leopard Server at work so that we could streamline code reviews.  I’ve found dealing with diffs in email to be rather inconvenient, so I’m hoping that Gerrit will be a big help.

As I went through the process of installing Gerrit, I hit a speed bump at the end of the init process where it couldn’t create a required function (nextval_account_id()).

Here’s a log of what happened:

$ java -jar gerrit.war init -d /Library/Gerrit/

*** Gerrit Code Review 2.1.6.1
***

*** Git Repositories
***

Location of Git repositories   [/Volumes/Data/src/git]:
Import existing repositories   [Y/n]?

*** SQL Database
***

Database server type           [MYSQL/?]:
Server hostname                [localhost]:
Server port                    [(MYSQL default)]:
Database name                  [reviewdb]:
Database username              [gerrit2]:
Change gerrit2's password      [y/N]?

*** User Authentication
***

Authentication method          [OPENID/?]:

*** Email Delivery
***

SMTP server hostname           [exchsrvr]:
SMTP server port               [(default)]:
SMTP encryption                [NONE/?]:
SMTP username                  [devbuilder]:
Change devbuilder's password   [y/N]?

*** Container Process
***

Run as                         [devbuilder]:
Java runtime                   [/System/Library/Java/JavaVirtualMachines/1.6.0.jdk/Contents/Home]:
Upgrade /Library/Gerrit/bin/gerrit.war [Y/n]?
Copying gerrit.war to /Library/Gerrit/bin/gerrit.war

*** SSH Daemon
***

Listen on address              [*]:
Listen on port                 [29418]:

*** HTTP Daemon
***

Behind reverse proxy           [y/N]?
Use SSL (https://)             [y/N]?
Listen on address              [*]:
Listen on port                 [8081]:
Canonical URL                  [http://myserver.local:8081/]:

Exception in thread "main" com.google.gwtorm.client.OrmException: Error in mysql_nextval.sql:
CREATE FUNCTION nextval_account_id ()
  RETURNS BIGINT
  LANGUAGE SQL
  NOT DETERMINISTIC
  MODIFIES SQL DATA
BEGIN
  INSERT INTO account_id (s) VALUES (NULL);
  DELETE FROM account_id WHERE s = LAST_INSERT_ID();
  RETURN LAST_INSERT_ID();
END;

	at com.google.gerrit.server.schema.ScriptRunner.run(ScriptRunner.java:55)
	at com.google.gerrit.server.schema.SchemaCreator.create(SchemaCreator.java:103)
	at com.google.gerrit.server.schema.SchemaUpdater.update(SchemaUpdater.java:52)
	at com.google.gerrit.pgm.Init$SiteRun.upgradeSchema(Init.java:190)
	at com.google.gerrit.pgm.Init.run(Init.java:85)
	at com.google.gerrit.pgm.util.AbstractProgram.main(AbstractProgram.java:76)
	at sun.reflect.NativeMethodAccessorImpl.invoke0(Native Method)
	at sun.reflect.NativeMethodAccessorImpl.invoke(NativeMethodAccessorImpl.java:39)
	at sun.reflect.DelegatingMethodAccessorImpl.invoke(DelegatingMethodAccessorImpl.java:25)
	at java.lang.reflect.Method.invoke(Method.java:597)
	at com.google.gerrit.launcher.GerritLauncher.invokeProgram(GerritLauncher.java:155)
	at com.google.gerrit.launcher.GerritLauncher.mainImpl(GerritLauncher.java:89)
	at com.google.gerrit.launcher.GerritLauncher.main(GerritLauncher.java:47)
	at Main.main(Main.java:25)
Caused by: java.sql.SQLException: This function has none of DETERMINISTIC, NO SQL, or READS SQL DATA in its declaration and binary logging is enabled (you *might* want to use the less safe log_bin_trust_function_creators variable)
	at com.mysql.jdbc.SQLError.createSQLException(SQLError.java:1055)
	at com.mysql.jdbc.SQLError.createSQLException(SQLError.java:956)
	at com.mysql.jdbc.MysqlIO.checkErrorPacket(MysqlIO.java:3558)
	at com.mysql.jdbc.MysqlIO.checkErrorPacket(MysqlIO.java:3490)
	at com.mysql.jdbc.MysqlIO.sendCommand(MysqlIO.java:1959)
	at com.mysql.jdbc.MysqlIO.sqlQueryDirect(MysqlIO.java:2109)
	at com.mysql.jdbc.ConnectionImpl.execSQL(ConnectionImpl.java:2642)
	at com.mysql.jdbc.ConnectionImpl.execSQL(ConnectionImpl.java:2571)
	at com.mysql.jdbc.StatementImpl.execute(StatementImpl.java:782)
	at com.mysql.jdbc.StatementImpl.execute(StatementImpl.java:625)
	at com.google.gerrit.server.schema.ScriptRunner.run(ScriptRunner.java:53)
	... 13 more

The solution is to make one change to the MySQL configuration before initializing Gerrit:

SET GLOBAL log_bin_trust_function_creators=1;

Thanks to Anthony on the Google Group for Gerrit for the answer.

Mount a Mac volume on a Mac from the command line

I still feel like a noob on a Mac even though I’ve been working professionally on one for almost 9 months.  Today I needed to copy files from one Mac to another and I wanted to do that all from the command line.  One way to do that is to use the mount command.  Here are the steps:

cd /Volumes
mkdir remotedisk
mount -t afp afp://remotehost/shareddir remotedisk

The trick here is to specify the file system (-t afp) and to specify the remote shared folder with the correct syntax (afp://remotehost/shareddir).

I found the man pages for mount to be less than helpful for discovering this.  However, I did find a web page that helped.